My Sourdough Bread

Like many people, I started making my own sourdough in the COVID lockdown and it has been a learning experience. This is my tried and tested recipe and method for 50% brown flour/50% strong white flour loaf.

INGREDIENTS

  1. 250g strong white flour
  2. 250g brown bread flour
  3. 320g warm water
  4. 15g salt

EQUIPMENT

  • a hand blender or food processor with dough hook
  • a large stainless steel bowl
  • a spatula
  • a plastic bowl with a lid (for mixing the starter)
  • a loaf tin (this is one I buy from Amazon)

AUTOLYSE

In order to strengthen the gluten in the brown flour, I mix the flour, water and salt beforehand. This is called AUTOLYSING and it softens whole wheat flour and produces a better texture loaf. You are not supposed to add the salt at this stage but I kept forgetting it the next day so I now chuck that in too.

STARTER

Your starter is the most important thing in sourdough breadmaking. I keep mine in a small WECK jar with a wooden lid on the top shelf of the fridge, right at the back, so that no one will take it out to get to something and leave it out. It’s a good idea to have a loose-fitting lid but found that I kept breaking the original glass lids that came with the WECK jar:

3 tapas de madera Weck medianas, bonitas tapas de madera de haya. Tamaño mediano = 80 mm. Compra especial. Solo para adaptarse a tarros WECK.

FEEDING THE STARTER

I only feed my starter when I make bread. It is perfectly happy left in the fridge until then, and there is no problem if you go away for a couple of weeks. It might be a bit sluggish the first few times you use it, but it will soon pick up.

METHOD  

PREVIOUS AFTERNOON:
Take your starter out of the fridge and leave it on the counter.

PREVIOUS EVENING:
MIX THE STARTER:

I always keep back 63g of starter. When I want to make bread, I transfer it to the plastic bowl and mix it together with 63g of organic white rye flour and 63g of warm water. I then put 63g of the mixture in a clean jar and put this back in the fridge. The remaining 125g of starter mix is then covered and left overnight somewhere not too cold.

AUTOLYSE THE FLOURS:
In your large stainless steel bowl, use a hand blender or food processor to mix together the white flour (250g), the brown flour (250g), the water (320g) and the salt (15g). Cover the bowl with a large plate and leave overnight. 

BREAD-MAKING DAY
07:00: MIX FLOUR AND STARTER

I mix together the flour mixture and the starter using a hand blender or food processor.
My method for this is to spread the flour mixture as thin as possible up the sides of the bowl using the spatula. I then add the starter to the middle and fold over the sides to completely cover the starter. I then combine it thoroughly using the mixer. This is then left covered for 60 minutes.

08:00: 4 STRETCHES + 4 STRETCH&FOLDS
I first stretch the dough four times. You are basically pulling it apart between your hands. You then do four stretch and folds. Rather than explaining how to do this, it is probably easier to show you what I mean by this, so here is a video:
https://www.youtube.com/watch?v=eFaKId5ijNg

You then repeat the stretch and folds four more times every 30 minutes:

08:30 STRETCH&FOLD 1

09:00 STRETCH&FOLD 2

09:30 STRETCH&FOLD 3

10:00 STRETCH&FOLD 4

10:00 PROVING THE BREAD – 3 HOURS
Once you have finished all the stretch and folds, you prove the bread for 3 hours. For this, I place the bread in the loaf tin and put it in a warm place with a cloth over it.

Fortunately, I have a bread rising setting on the oven which keeps it at 40ºC. You should not use any higher temperature as this will start to cook the bread. 

In order to stop the dough sticking to the tin, I line the loaf tin first. You can use greaseproof paper for this. However, I prefer to make my own liners from BBQ silicone liners so that I can reuse them.

Here is a video to explain how:
https://www.youtube.com/watch?v=SnVogHJ5kFM

This is a photo of the bread once it has been proved:


13:00 BAKING THE BREAD – 60 MINUTES

Remove the loaf tin from the oven. Heat the oven to 180ºC and then bake the bread for 60 minutes.

Remove the bread from the tin and leave to cool.

Making Garlic Mayonnaise with a Stick Blender

cortijoblog: making mayonnaise with a stick blender

MAKING MAYONNAISE

Although traditional garlic mayonnaise or “aïoli” is only made with egg yolks, I wanted to find a recipe that used the whole egg to take full advantage of the eggs that our hens lay.

In a previous post, I described my first way of making mayonnaise with a stick blender using 1 large egg and 250ml of sunflower oil. Although this original method is fine if you have large eggs, it doesn’t tend to work so well if you have younger hens laying smaller eggs. I also wanted a way of making larger quantities and so I developed the method shown on this page.

The mayonnaise only takes a couple of minutes to make. As long as you use large eggs at room temperature, the mayonnaise will set properly. If you have smaller eggs, then I recommend you use three, blending two together in the first part of the process and using the third in the second stage.

The key to success is to slowly raise and lower the stick blender, using a circular motion to incorporate all of the mixture thoroughly. This method works best if you use the long tall jar that comes with the stick blender.

Here is a link to the video of me making this mayonnaise: 


INSTRUCTIONS

cortijoblog: making mayonnaise with a stick blender

INGREDIENTS

  • 250ml or a cup of sunflower oil
  • 2 large eggs at room temperature
  • 2 teaspoons Dijon mustard
  • 2 pinches of salt
  • 4 large cloves of garlic

cortijoblog: making mayonnaise with a stick blender

METHOD

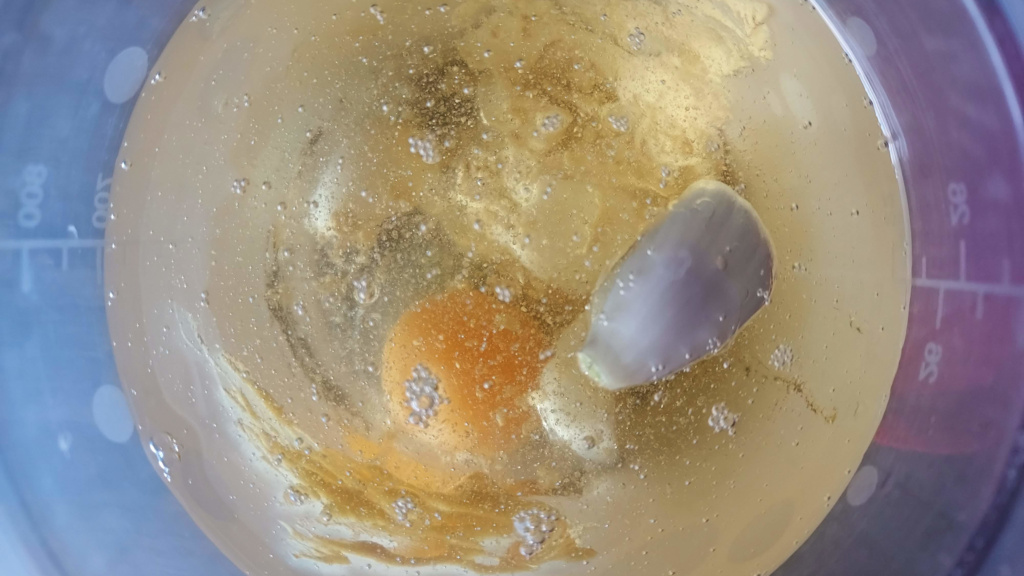
  1. Put  one of the eggs, the garlic cloves, sunflower oil, mustard and salt into the tall blender bowl.
  2. Using the stick blender, quickly blend all of the ingredients together on the fastest setting possible.
  3. Crack in the second egg.
  4. Gently lower the stick blender to the bottom directly over the egg yolk.
  5. On the fastest setting of the blender, blend for a couple of seconds.
  6. Slowly lift and lower the blender, first by about 5mm and then 10mm.
  7. Continue blending, gradually raising the blender by a couple of centimetres each time.
  8. As you lift and lower the blender, use a circular motion from front to back.
  9. You should be able to see how mixture lightens at the bottom of the bowl as the mixture turns into mayonnaise.

Home-made chorizo

Image

Home-made chorizo

Home-made chorizo

Even though we didn’t have our own pork this year, I decided to make some chorizo. That way I would know exactly what goes into it and how much fat it contains. The recipe basically calls for 80% meat and 20% fat but as the pork belly I bought was very lean, the fat percentage was considerably higher. It is possible to make chorizo completely from scratch, adding your own spices and flavourings to the meat and fat mixture. However, as the climate on the coast is warmer and more humid than in the mountains, and not ideal for drying and curing meats, I wanted to be completely sure that there wouldn’t be a problem and we wouldn’t all be poisoned so used a ready-made chorizo mix call “Chorizol”. I then added more oregano, chilli pepper and chopped garlic.

INGREDIENTS:
4kg shoulder of pork
1kg belly pork, derinded
1 sachet chorizol
2 1/2 teaspoons chilli pepper
8 cloves garlic
handful oregano
hog casings

PROCEDURE:
Mince the meat and fat together. Add the remaining ingredients and mix well. Leave to mature in the fridge or a cool place for 24 hours.

Put the mixture into the casings. Shape into individual sausages.

Making chorizo sausage

Making chorizo sausage

Hang up to dry in a cool, airy place. The ideal temperature is between 10ºC and 13ºC. Leave to dry for 7 days. If the temperature is cool enough, you can store the chorizo outside the fridge but I decided to freeze it and take out use as needed. I also saved some of the fresh chorizo back and froze it without drying.

chorizo2

Making liquid detergent

I’d heard long ago about the benefits of block soap made from used olive oil and caustic soda, but had never heard about using oil to make liquid detergent that could then be used in the washing machine. It is apparently amazing and will get through the toughest of stains.

Last weekend when we were round at the neighbour’s house, his sisters had decided to make some so I helped so that I could see how it was done.

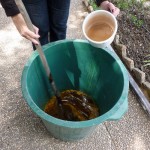
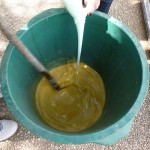
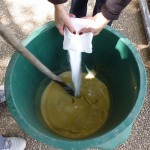
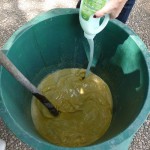
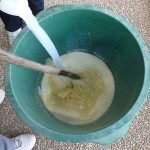
You will need a container that can take 50 litres and a stick for stirring. It is important to stir constantly, in the same direction.

Basically, the idea is to warm 1 litre of water. You then add 1kg of caustic soda. It is important not to let the water get too hot or it will bubble over.

Pour the used 1 litre of used oil into the large container.

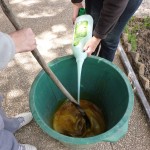
Add the soda and the other ingredients:
2 litres of softener
6 litres of liquid detergent
1/2kg percarbonate whitener “blanqueador percarbonate”
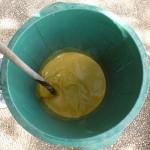
40 litres of water

Stir gently until the liquid has cooled. The detergent can be transferred to containers immediately but shouldn’t be used for about 8-9 days.